
Using Multiple Desktops for Presentations
Have you ever sat through a presentation, watching the presenter struggle to find the next browser tab, code window, slide deck, etc., to continue the show? Or watch that awkward transition from slides to demos and back? Or the presenter uses Alt-Tab, but has dozens of apps open and struggles to find the right one? I know you have and it might have been one of my sessions! I learned a while back about a technique to make your presentations just flow from one section to the next. If you are using Windows, multiple desktops make these transitions fast and seamless.
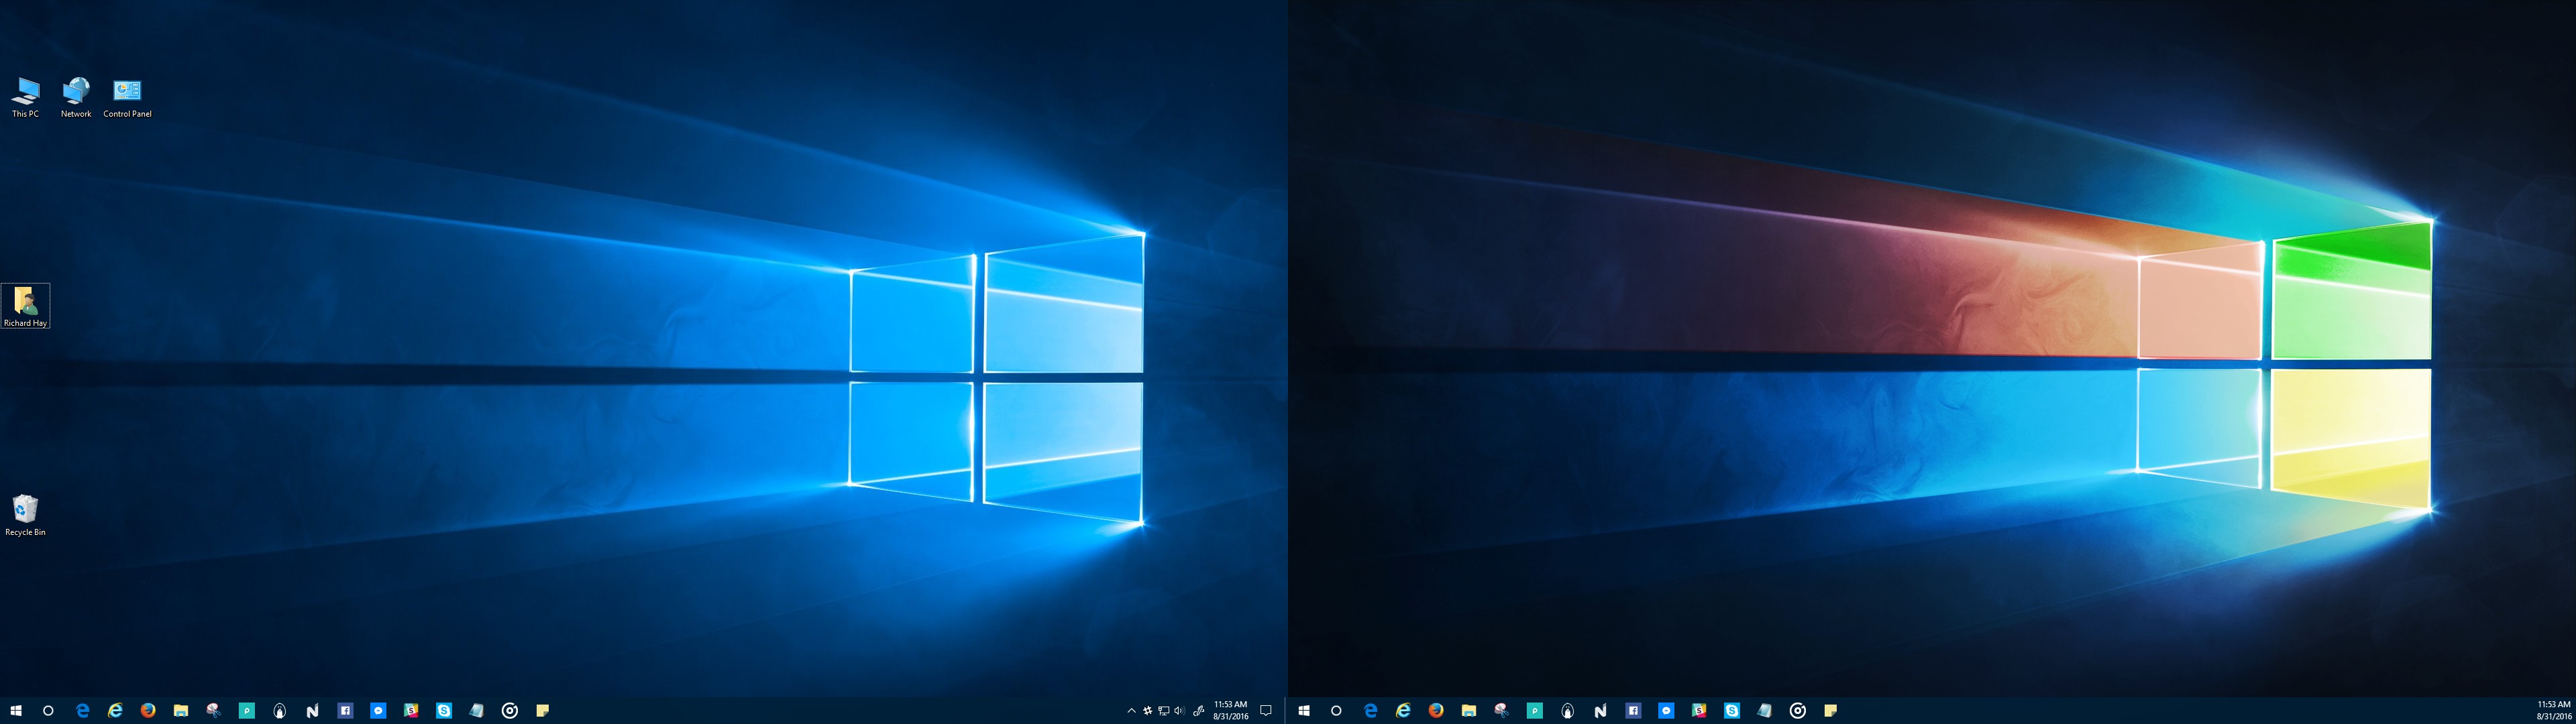
You might be wondering, what are multiple desktops and why do I need them? Well, multiple desktops are a feature that allows you to have different sets of windows and apps open on your computer screen, and switch between them easily. You can think of them as virtual screens that you can customize according to your needs.
Why is this useful for presentations? Well, imagine that you have to give a presentation using PowerPoint or some other software, and you also want to show some web pages, videos, or documents during your talk. Normally, you would have to minimize and maximize different windows, or use the Alt+Tab shortcut to switch between them. This can be distracting and messy, and sometimes you might accidentally show something that you don’t want your audience to see.
Using multiple desktops can solve this problem. You can create a separate desktop for your presentation software, and another one for your other windows and apps. Then, you can use a keyboard shortcut (Windows+Ctrl+Left/Right arrow) or a touchpad gesture (four-finger swipe left/right) to switch between them smoothly and quickly. This way, you can keep your presentation clean and professional, and avoid any awkward moments.
Here’s how you can set up multiple desktops on your Windows 10 or Windows 11 computer:
- Click on the Task View icon on the taskbar (or press Windows+Tab) to open the Task View screen.

- Click on the New Desktop button to create a new desktop.
- Repeat step 2 as many times as you need to create more desktops.
- To move a window or app from one desktop to another, drag it from the Task View screen to the desired desktop thumbnail.
- To switch between desktops, use the keyboard shortcut (Windows+Ctrl+Left/Right arrow) or the touchpad gesture (four-finger swipe left/right).
That’s it! You’re ready to use multiple desktops during your presentation. Just remember to practice before your actual presentation, so you can get used to switching between desktops smoothly and confidently.
I hope you found this tip helpful and useful. If you have any questions or comments, feel free to leave them below. Thanks for reading and happy presenting!
Full disclosure: This article was co-authored with Chat GPT!